
 Free Screen Recorder for Chrome


How to record your screen? Let's see!
Screen recording is such a simple and interactive way to create top of the tier sales and marketing videos.

But before you start creating your video library using screen recording videos, it’s best to get your basics right. Especially, if you have a history of getting “Restart Your PC Now to Install Updates” flashed on your screen in the middle of a screen recording.
Here are 10+ best practices to keep in mind before you begin screen recording. This is not an exhaustive list, but it will set you up nicely for creating quality screencasts.
Use Notes or Make a Rough Script
With screen recording, the best of us can jump right in and make a huge mess. Screen recording is as much a ‘shoot’ as a camcorder recording, albeit simpler. To create good quality screen recorded videos, it is best to have a vision.
Know exactly what you want to project using the video, and implement your vision with a guided script or a list of pointers.
For example, if you are trying to show the audience how to use your software, your notes may look like this:
- Open Google Chrome
- Show how to download
- Install software
- Show basic steps to use the software
- Conclude with a call to action
You can also use a restrictive script for the voice over, but it is better to just wing it using pointers. Reading from a script can be a little boring from the viewer’s perspective.
Bonus Read: How to Write a Good Video Script
Set Up Your Device
Just like there is a set design in video production, there are a few things you need to take care of during screen recording. One of those things is messenger pop-ups on your screen in the middle of screen recording - an absolute no-no.
Mute all notifications that you have enabled. All of them. Any interruption during the screen recording will ruin your entire video, and you can’t edit it out. Take care of any scheduled antivirus scans or OS updates.
You might be using a personal device for recording, and that could mean a clutter of icons on the screen. No one wants to see your endless list of icons. If you can’t delete them, group them in one folder, and keep it aside. Once you are done recording you can undo the cleaning, and bring back the clutter.
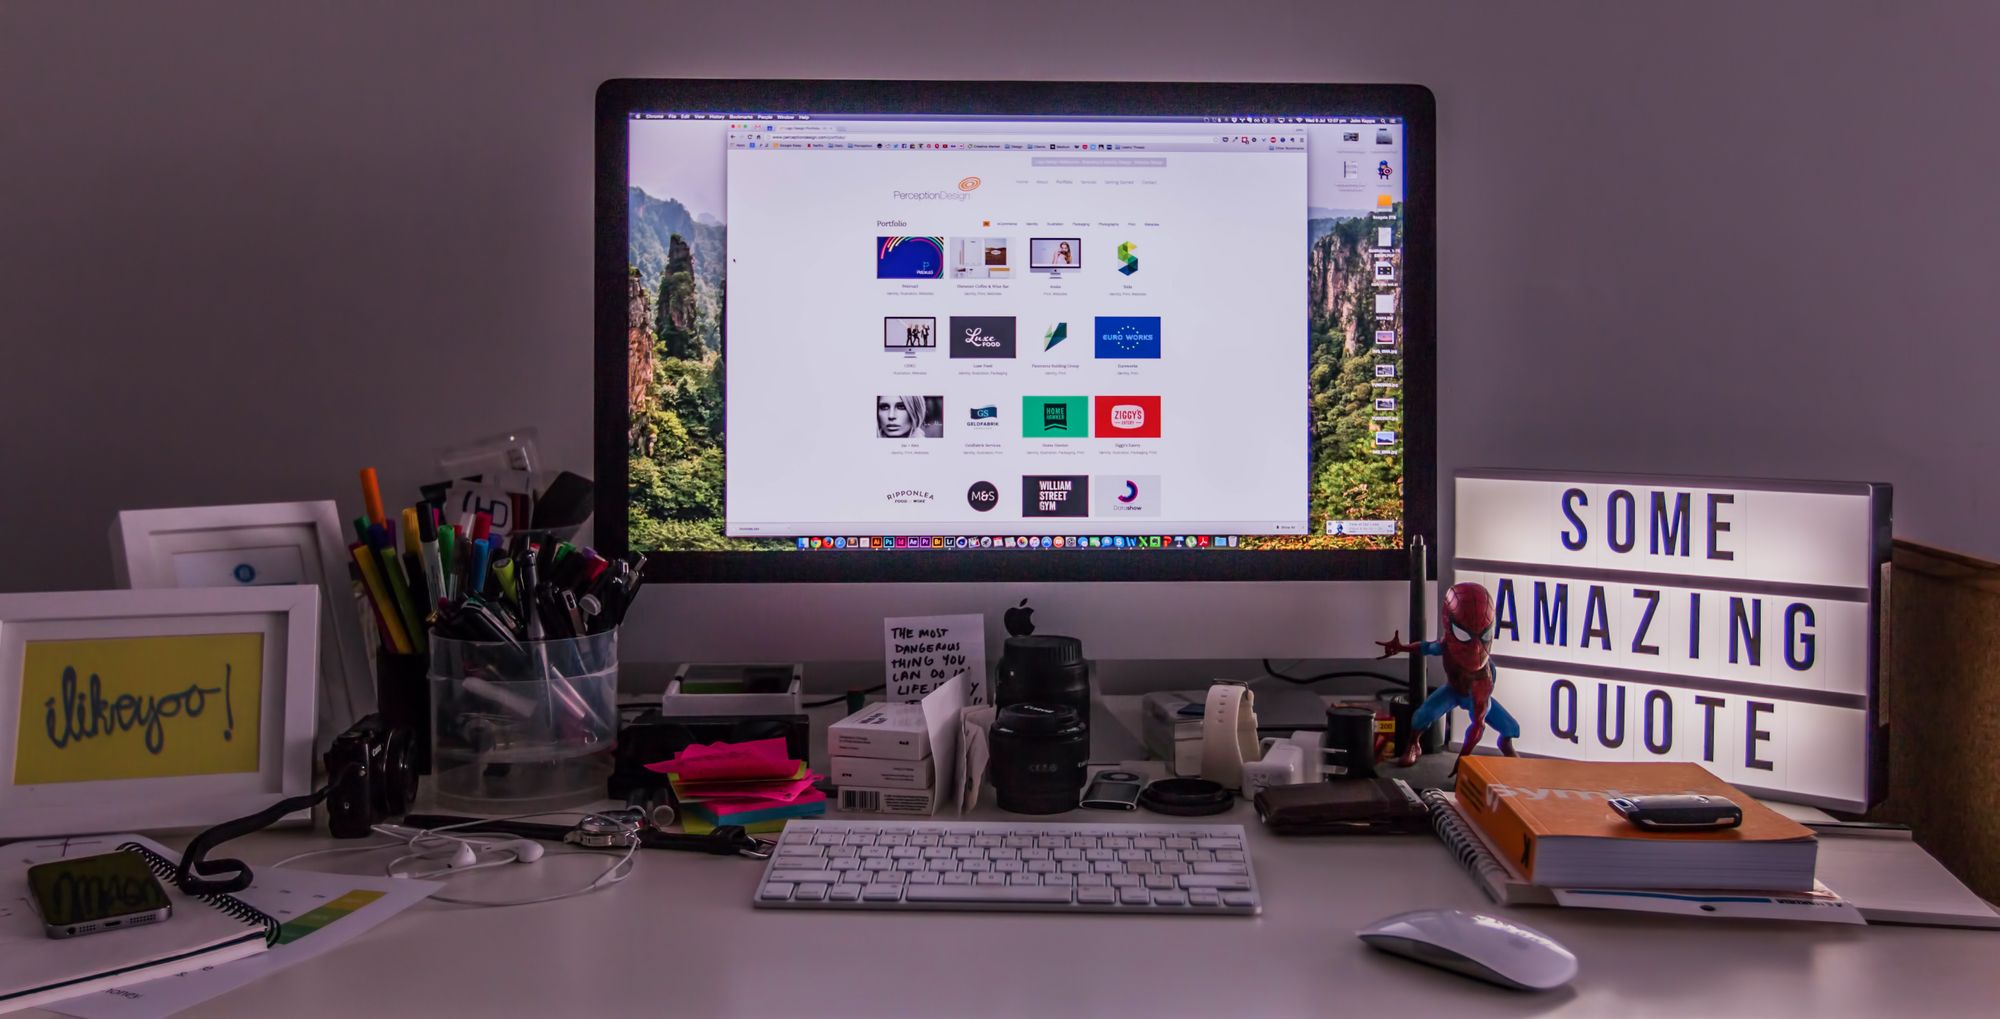
With screen recording, you have to optimize every aspect of your screen to engage the viewer. Use an appropriate wallpaper that reflects the theme of the video.
If you will be using the browser, make sure your bookmarks are hidden and experiment with any browser skins you might like.
Make sure you are logged in to whatever website or app you need to be logged into. Or have the password saved, and not on display (especially on web streams).
Record in HD
Most of us ignore the fact that the HD funda is not just limited to the conventional camera videos. And no, not every screen recording is HD or even close to HD.
720p videos are known as HD ready which translates to a frame size of 1280x720. And it is the most important aspect of creating good looking screencast videos.
You can use the StoryXpress Screen Recorder to record your screen in 720p and above. The Screen Recorder doesn’t add any unnecessary margin or borders to your screen recordings and keeps the quality intact.
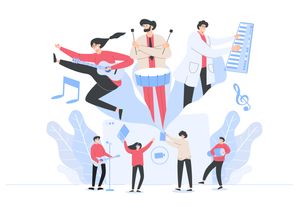
Experiment With Webcam Recordings
Just because you are creating a screen-recorded video, doesn’t mean it has to be just your screen on record. You can record your webcam along with your screen!
All you need to do is quickly install the StoryXpress Screen recorder and hit 'Record' with the screen+webcam option to add a webcam bubble to your screen.
You can create engaging videos using this feature. The human face adds a layer of engagement to your screencast videos and makes the video more interactive.
Instantly humanize your videos using this feature, and don’t be afraid to get a little more creative with this. You can create a variety of videos from storytelling to how-to tutorials using screen and webcam recordings.
Control your Cursor
Screen recording tools offer users a variety of options when it comes to cursors. Some like to keep it simple, some like to use fancy cursors. Regardless of whether you use the good old click or the deathly hallows wand, control your cursor movements.
The haphazard movement of the cursor is so annoying as a viewer, it could easily cause a bout of dizziness. It is unnecessary and counterintuitive to the use of a visible cursor.

Know exactly what you’re pointing to when you do it. If you are fast with cursors, you can practice toning it down a notch before you record.
You can change the cursor and trackpad speed on both Mac, and Windows for additional help.
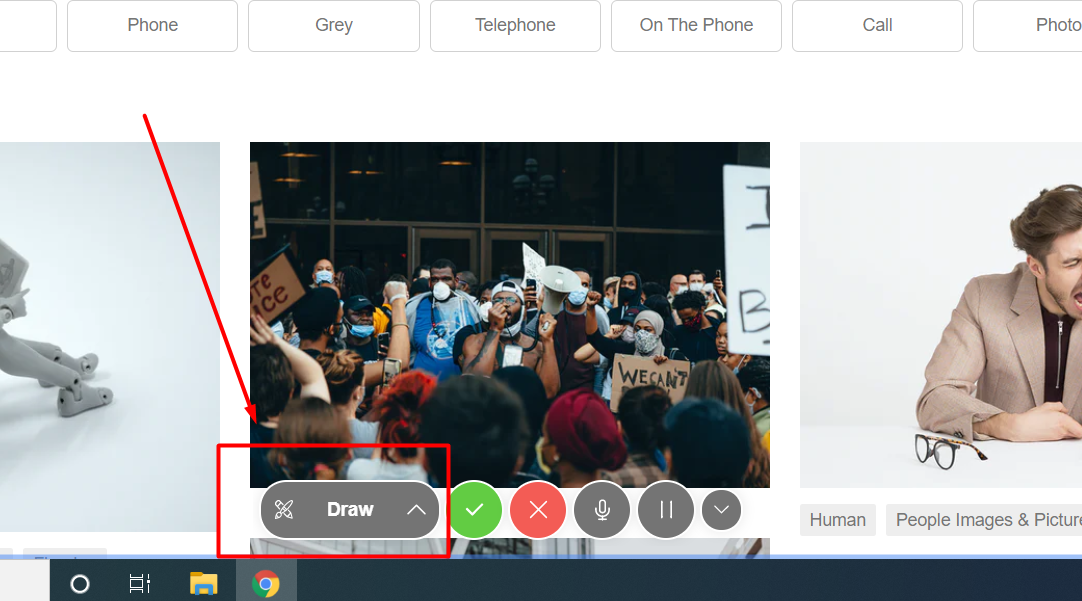
Your Screen is a Canvas
You don’t have to necessarily record boring how-to tutorials. There are better ways to record your screen.
Using the StoryXpress screen recorder you can convert your screen into a canvas, by using a simple drawing tool. This tool enables you to explain complex concepts in the good ole’ chalk and board style.
If you want to dive deeper into your artistic capabilities, you can screen record virtual drawing tools as you use them. This could be anything from simply recording Paint, to recording sophisticated digital drawings on Photoshop you possibly use.
Digital drawing has a genre of its own, and you can use it for creating fun sales videos using speed painting. Another great way of adding a little bit of color is through showing graphs and pie charts. You can easily plug in important statistics using these, and they can be created online using Adobe Spark.
Annotate
Users of the StoryXpress Screen Recorder can easily add text to their video as they record it using the TYPE tool amongst drawing tools. This is a great way of talking to your audience, without actually talking.
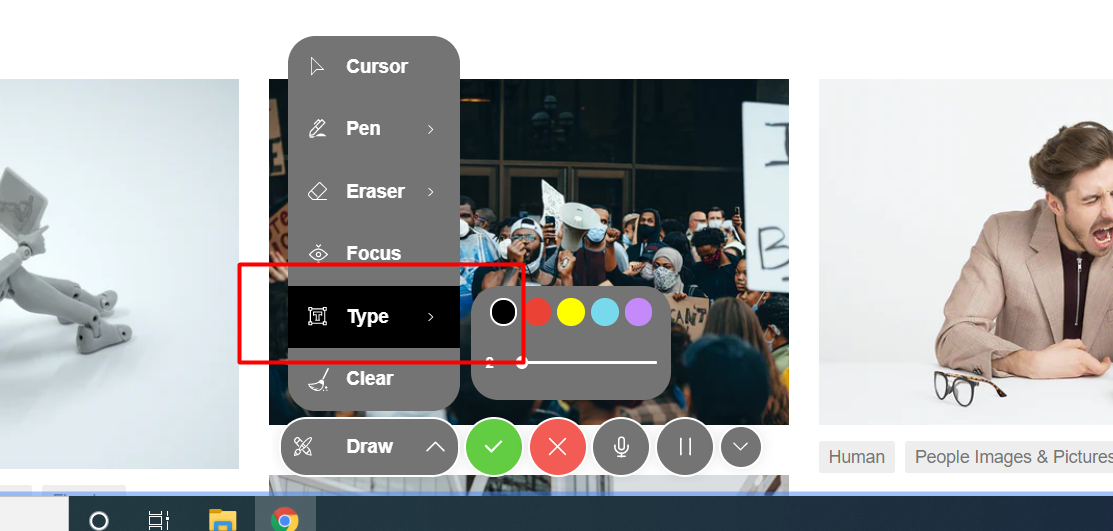
Whenever you mention a term or an industry jargon that not everyone is familiar with, you can simply add a small definition note or you can grab viewer attention by displaying a message like:
“Important Tip: ...” or “Don’t Forget: ...”
You can also leverage this tool to drive sales by adding bylines relevant to the video. Annotations are highly useful for how-to and explainer videos, as they help users add notes on the go.
Add Call-to-Action Buttons
You can add call-to-actions to virtually anything on a digital platform including screen recorded videos and they work exceedingly well on videos!
Considering the traction videos receive, call-to-action buttons strategically placed on sensitive timestamps can drive leads deeper into the funnel. Use good ole’ catch buttons like “Book a Meeting” or redirect viewers to your landing page through the screen recorded videos.
You can go a step ahead and screen record the page that call-to-action will lead to. This gives the user some perspective and urges them to act upon it.
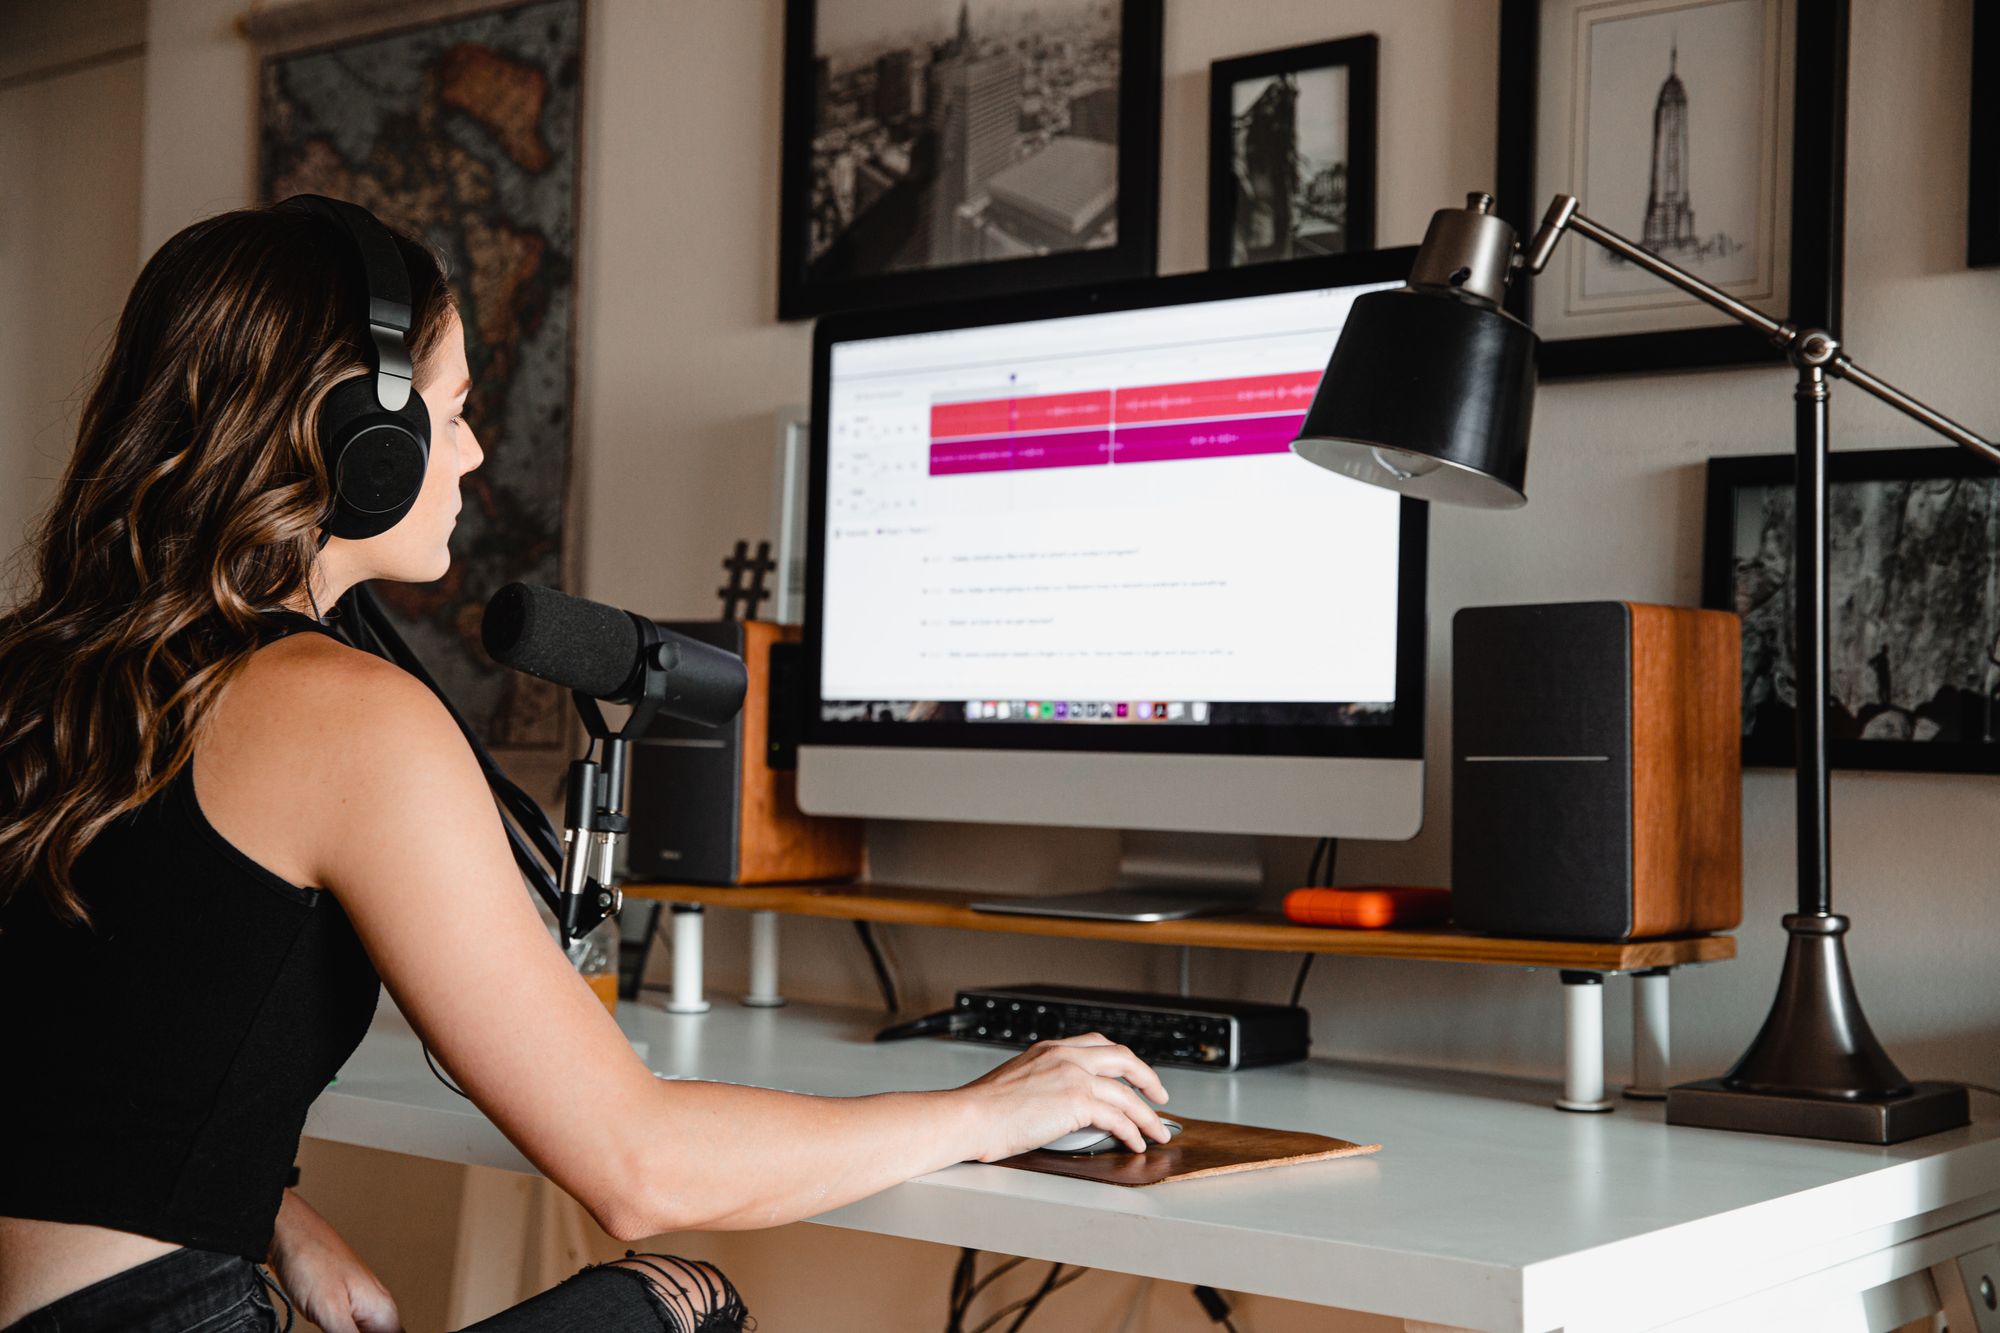
Use a Microphone
If you haven’t already done it, purchase a good microphone. Audio is an integral part of a screencast video. For voice-overs, and even for talking through the video, you need good quality audio to create a good quality video.
If you are tight on budget, you can use the inbuilt microphone on your laptop, but it doesn’t guarantee the quality we all seek as viewers.
Another hack is using those old wired earphones that have a microphone. That does the job better than the inbuilt microphone.
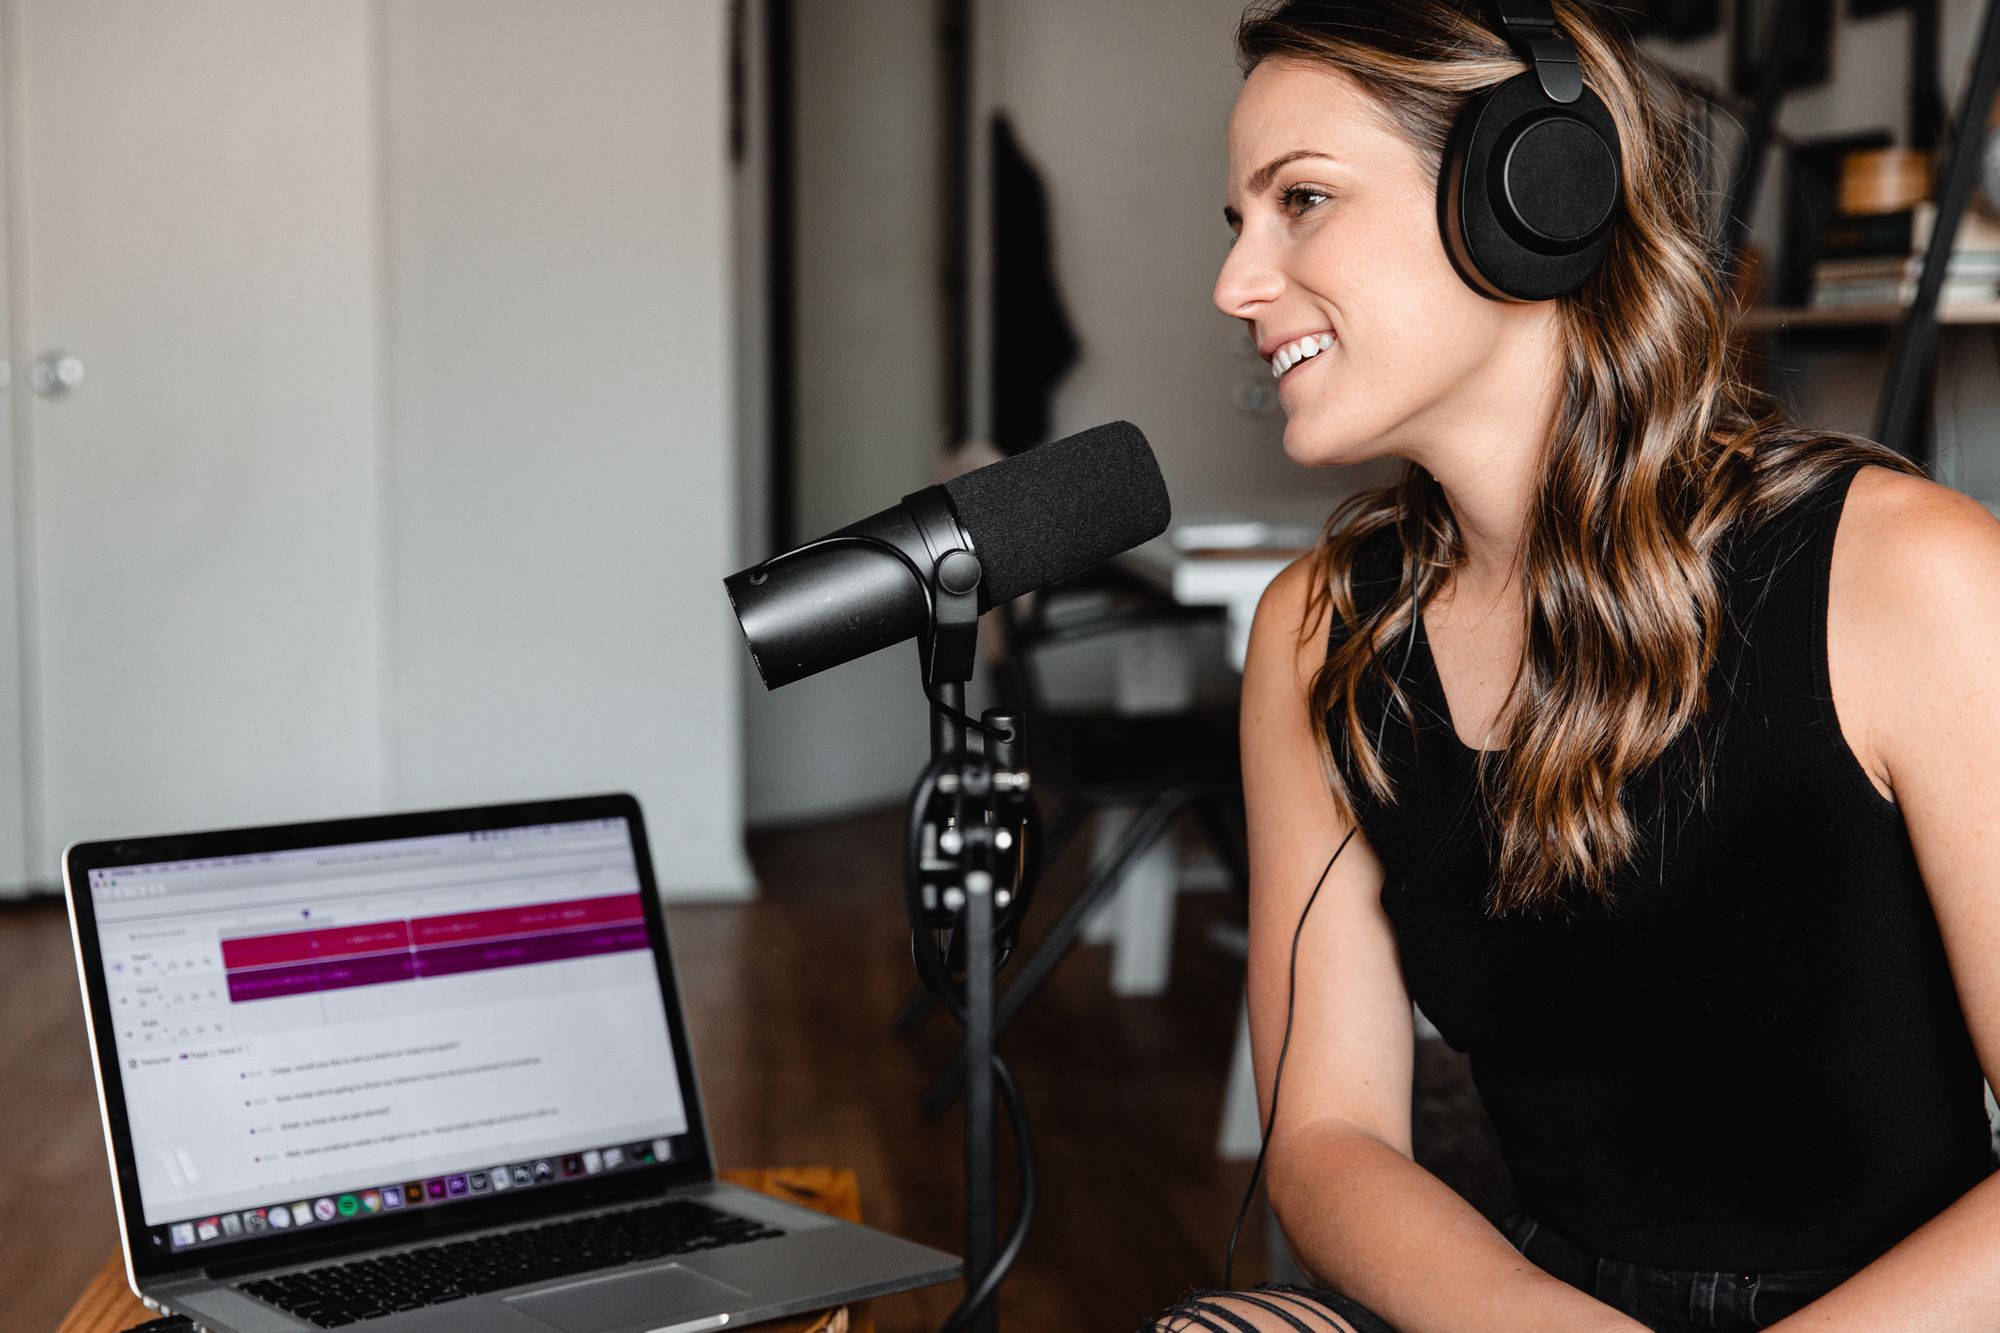
Some external webcams come with a built-in microphone, and although this is subject to the quality of the webcam, generally it will give you cleaner audio.
If you have the budget for it, and if you are consistently making screen recorded videos: invest in a good microphone.
These are certainly not expensive, you can easily find a good USB microphone for under $20.
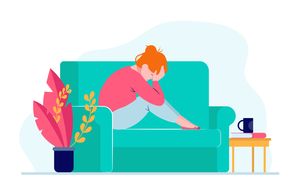
Find a Quiet Place
Creating a screen recording video is much like conducting a public webinar. You don’t want your dogs barking in the middle of it. Neither do you want any odd background noise like the ticking of a clock.
Before you begin recording, find an absolutely quiet corner, a makeshift recording studio of sorts. Put up a “Do Not Disturb” or “ON AIR” sign like they do in Radio Stations. Trust me, it helps.
If you are unfortunately situated in a slightly noisy place, you can use a dynamic mic to block any background noise. A dynamic mic is not necessarily more expensive, it is just a matter of configuration.
Contrary to that, if you are locked in an empty room but there is an echo, you can use a microphone isolation shield that removes any echo. You can also use a pop filter to increase the sound quality.
Perform Test Runs Before Final Recording
As with any other tool, you need to familiarize yourself with the screen recording tool that you are using and also with the art of screen recording. Before you dive in and record a web stream, make sure you practice a little.
Experiment with screen recording and the various annotation tools at your disposal. You might come across a few glitches, or find out tools that don’t work for you.
Use different tabs, different software for a test recording, and make sure you perform longer test runs to check your machine thoroughly for any unwarranted popups or disturbances. Make sure your audio is perfect, and everything you need is plugged into your device.
There you have it, you are now all set to create good looking screencasts that get you the traction you need.
Keep in mind to turn off all notifications, even on your phone before you hit record, and make sure your laptop is plugged in to power throughout the recording.
If you are struggling to get a good looking shot on your webcam, you can find some useful tips here.


