Free Screen Recorder for Chrome


Ensuring your video quality involves a lot.
There is planning, production, and post-production. Managing all that and getting a good edit can be a little tricky.
When you're working with such an influential medium, where everything is out there on display, you must learn to do it right. Because audiences are quick to critique every error you make.
However, when you do it right, they are equally quick at appreciating the hard work.
Much of the worth of a video comes from the quality of the video. A blurry 140p video is a thing of the past and will invariably give you a higher bounce rate.
Well, you might be recording an HD video, but the platform you upload it to might not support it and you can’t reap the benefits of using that expensive camera.

Looking for some cool tips on how to give a video better quality? We got you covered. Let's get started!
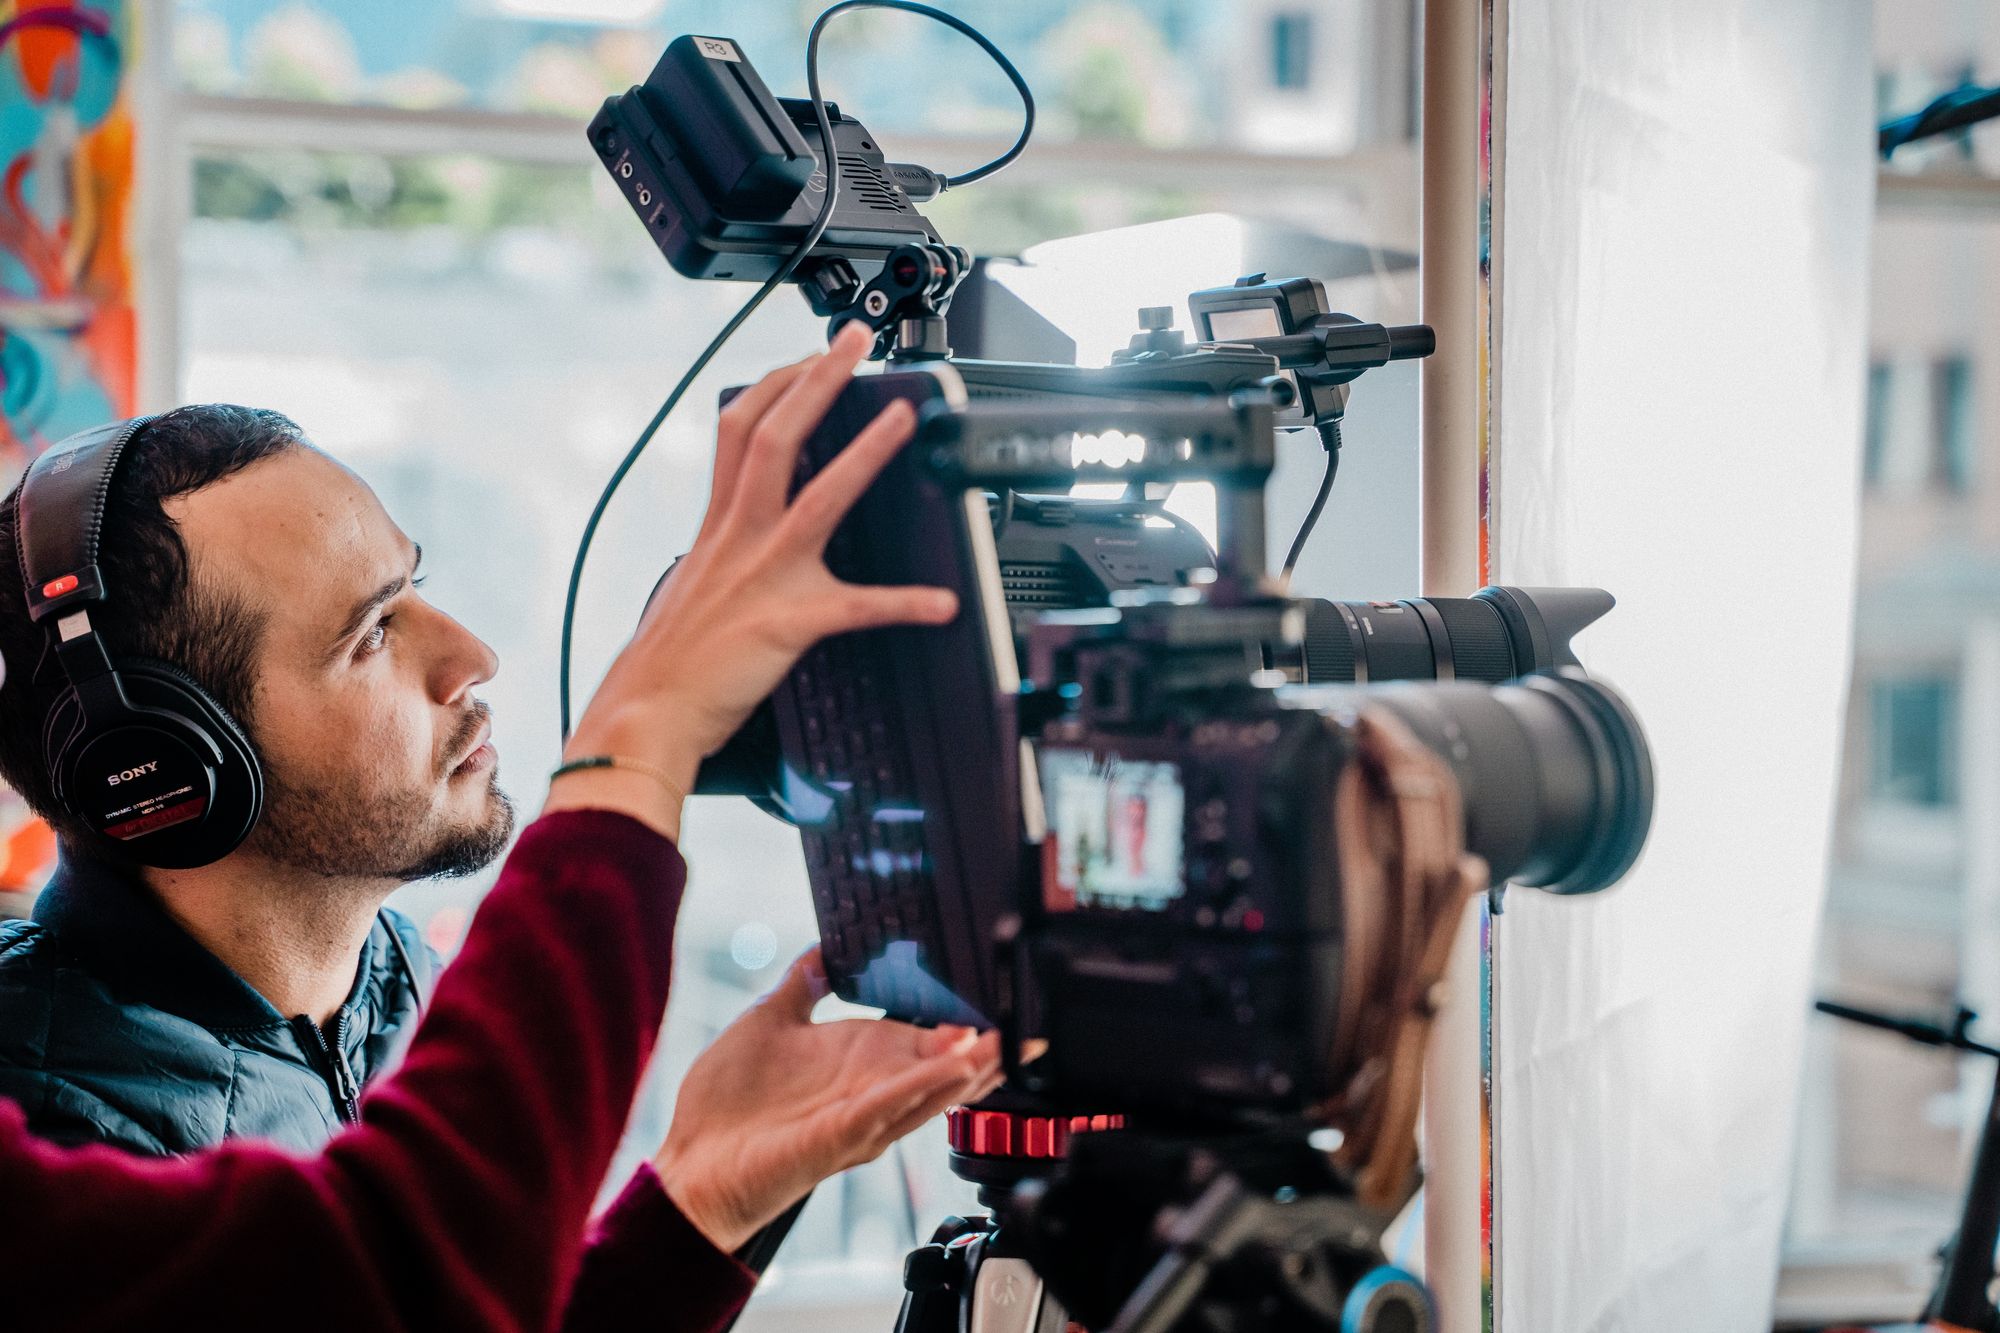
Screen Recording will Never Fail You
Screen Recording is using a device’s screen as the footage for a video. The functioning of the software, for example, as you run it and perform actions on it can be recorded and edited to create a demo video for that software.
There are a lot of benefits of creating screen recorded videos. Screen recording footage requires no color adjustments, stabilization because these are recorded using software, it does not even require a camera.
The only thing left to manage is the resolution. You can use the StoryXpress Screen Recorder to record your screen in full HD 1080p and make basic edits like trimming, blurring, and cropping sections of videos.
One thing that impacts the quality of your video significantly is the quality of the sound. Make sure you use good quality audio to improve the overall quality of your videos.
Record HD Videos
Although there are many ways to enhance video quality, nothing beats good quality footage. The first step towards producing better quality videos is recording better quality videos.
HD stands for High Definition. But what exactly is considered a high definition video? The answer to this is subject to many factors, and the definition of HD is adaptive to the medium it is being used in.
Even specifically for a digital video on the internet, there are many standardized options. In terms of resolution, the lower limit of high definition on the internet is 1280x720 and the lower limit of bit rate is 2.5 Mbits/sec.
For a webcam, you can easily find a Full HD 1080p (resolution 1920x1080) built-in into laptops. Most smartphones support this too.
If you are looking to purchase an external Full HD webcam with a microphone, there are good, budget options available under $50.
Video Compression
When you record an HD video, or even a subpar low-quality 144p video and upload it to a video hosting platform, your video will inevitably be compressed. To host any video, a video hosting platform converts the format of a video. This is called transcoding.
When you record an HD video, or even a subpar low-quality 144p video and upload it to a video hosting platform, your video will inevitably be compressed. To host any video, a video hosting platform converts the format of a video. This is called transcoding.

Thus, your original footage is encoded one way, and once you edit and upload, it is transcoded to a different encoding to suit that platform.
During this process, your video goes through multiple rounds of compression which can lead to some visible loss of detail in the video, known as visible compression. Transcoding may or may not lead to visible compression depending on the platform, but there is compression to make the video adaptable for viewing.
You cannot avoid compression in terms of size, but you can avoid visible compression. There are many ways to do it, depending on the software and equipment you use and also on the platform you choose.
One of the ways is to upload a high bitrate video. This will take a lot more time to upload but will take care of any detail loss. If you are uploading the video with an H.264 codec, a bitrate around 50Mbps is recommended.
Avoid Shaky Videos
Nothing turns the audience off like that shaky footage. Using a camera with optical image stabilization is the easiest way to create smooth footage.
If for some reason you already have shaky footage, there are ways to fix it in the post production. Editing software such as Adobe Premiere Pro allows you to fix shaky footage. Google Photos can also help you significantly reduce the unsteadiness in the footage.
The simplest way to avoid shaky footage is a steady hand, a tripod. You can enhance video stability in post-production edits, but it’s just not the same. And many times during post-production stabilization you might have to crop the frame to adjust the motion, losing out on valuable detail.
Try Alternate Filming Methods
There is no restriction on the filming methods when it comes to sales videos. You can create beautiful, top-notch quality videos simply with screen recording or animations. Here's an example:
What matters is the content of your video and the vision with which you produce it. For software or SaaS, screen recording is the go-to method of filming because it lets you show your product in action. Screen recording is an effective medium because it shows the user’s point of view.
Using tools like the StoryXpress Screen Recorder, you can annotate the screen, and use it as a drawing board. StoryXpress Screen Recorder records your screen in 1080p, full HD resolution and you can record, edit, and even host videos starting at $0.
Implement Rule of Thirds
Rule of Thirds is a popular composition technique in photography and videography. This is a framing technique, that allows you to create aesthetically pleasing shots.
Depending on the subject you can adjust the framing and therefore the lighting. Good lighting is the key to creating good videos. And with the rule of thirds, you can implement studio-like lighting and framing without much effort.
To implement the rule of thirds, imagine a 2x2 grid over your video. This should create 4 intersections, and these four are the focal points.
In the image below, the subject occupies the left 2 intersections, making it an aesthetically pleasing image.
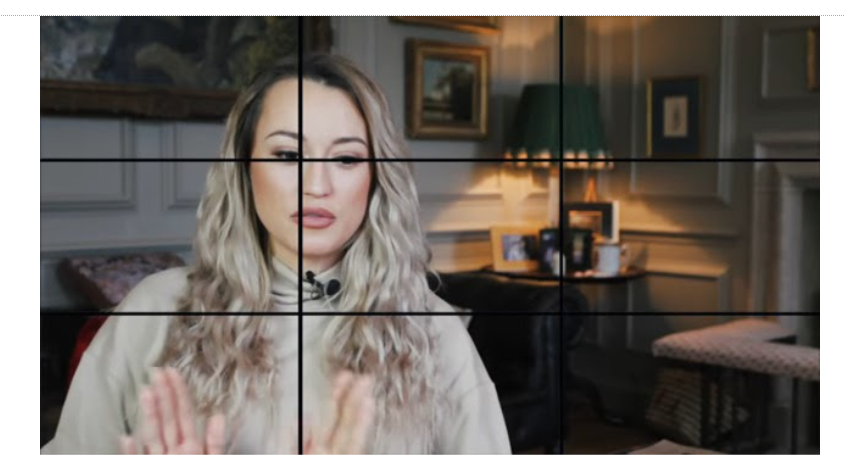
The image is balanced with a lamp on the right 2 intersections. You can also frame the subject to occupy all 4 intersections by placing it in the middle.
Using all 4 intersections will create a more authoritative frame, giving the subject space for how-to videos, and videos charged with an influential narrative.
Subsequently, you can use 2 intersections to create more personal videos like video pitches and explainer videos.
Three-Point Lighting
You can implement a good looking frame with the Rule of Thirds, and assist it with good lighting. You can do this with 3 point lighting, i.e., lighting will supplement the frame through 3 inputs.
The first light or lamp should highlight the mainframe, this is the main light. The second will fill the background, like the lamp in the image above, and the third is added to adjust shadows.
Keep the Edit Simple
The majority of the videos are either made or destroyed during the editing process, making editing one of the tricky parts of video making.
To create a good video, you need to keep your vision intact. For professional-looking sales videos, it is best to keep the editing minimalistic and without any fancy transitions.
Use a simple software that allows you to make cuts, add audio and a few graphics and text. That is all you need to create a great video if you have good enough footage. There are many free editors out there that will let you do that and that’s all you need.
You can also use the StoryXpress video editor that allows you to trim, crop, and blur the required sections of your sales videos. Plus, you can add the relevant call-to-actions which are a must-have in a sales video.
Always Color Correct
Color correction is a technique to fix any discoloration or balance the blues and greens in raw footage.
Due to the nature of cameras, there is a slight difference between the colors as they appear in reality and the footage. This is fixed in the post-production by color correction.
This can be done using any popular editing software like Adobe Premiere Pro. Color correction requires attention to detail and a little practice. But even a novice can perform basic color correction on a video using color correction tools.
Similar to color correction is color grading, but color grading is a creative arrangement of colors in the frame during the shooting. It is used extensively in filmmaking.
Saturation, Contrast, Hue, Brightness
Saturation, Contrast, Hue, Brightness are some basic aspects of imagery or video that make up its color composition. These 4 aspects have a huge impact on the quality of the video, make sure you understand these right.
Saturation is simply the intensity of color in your footage. If your footage seems dull and you want colors to pop out more, you tweak the saturation. The spectrum of saturation is from vivid colors to grey.
Contrast, similar to saturation, will focus on the colors but from a perspective of tones and mixing. Contrast takes care of the blending of colors in the image. Focusing on the shadows, and the tones of the image, contrast can be low or high key - low key being the dark tones, and high key being vivid colors.
Hue is nothing but the color itself. Brightness is simply the shade of color through the lighting in the frame. This is what determines the color scheme from hot pink to magenta. It works with the amount of white, and black in the color.
All in all, these are the 4 aspects of videos that you can tweak to create better-looking videos. If you want to create an energetic feel in your video, tweak up the saturation, balance the brightness, and use brighter hues in the footage. If you want a more serious look, use dark tone contrast, low saturation, and low brightness.
Experiment with Video Enhancers
Video enhancers are a set of tools or software to adjust video quality. These software work with your footage and manage a few key aspects of video quality.

Using video enhancers you can increase the resolution of the video, or play with coloring aspects like brightness and saturation.
Video enhancers manage curve adjustments and reformat your videos. Using the right video enhancers you can enhance the video quality itself in the post-production up to 8K.
These are used by editors to create professional videos for broadcast viewing. Many editing software like Adobe Premiere Pro pack all capabilities of video enhancing.
Creating good quality videos is not necessarily tough, it just requires a little attention to detail. Using this blog post as a guide, you can create good quality videos without losing the weight of your wallet.
Hope this gave you some insight into improving the quality of your sales videos. This is certainly not an exhaustive list. Experiment with the tips mentioned to get the best out of your videos.